
Debian 12 Linux Telegram Bot Server (Python, Autorun script, Test bot script)
 |
This guide shows how to set up your telegram bot server on a VPS with Linux Debian 12. The task is to launch a bot around the clock that will give subscribers answers in the telegram application. You can also order a ready assembly on the VPS server order form. On a ready-made chat bot telegram server, you can run several bots in the same way as described below. In this guide, we are installing as root, if you have a normal one, use the sudo command.
|
Telegram bot server
Most frequently asked questions:
-
We want all the data to be with us. Can you make all this adjustment on our equipment?
Yes, you can order the installation and configuration of this configuration on your equipment using the link.
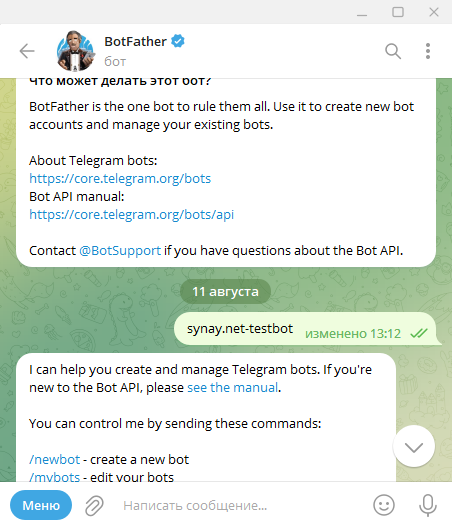
1. Let's create a bot in our Telegram account:
@BotFather
/newbot
synay.net-test
synaytestBot
1234567890:NNHNgm2Mg0RqvFlHVZKUdgnsZZzCe84KLuw
2. Install the necessary packages on the server and configure the services:
apt update
apt-get install python3
apt-get install python3-venv
python3 -m venv my-tel-bot
source my-tel-bot/bin/activate
pip3 install pyTelegramBotAPI
3. Let's create a test bot script:
nano /root/my-tel-bot/bot.py
import telebot
bot = telebot.TeleBot('')
@bot.message_handler(commands=['start', 'help'])
def send_welcome(message):
bot.reply_to(message, "Howdy, how are you doing?")
@bot.message_handler(func=lambda message: True)
def echo_all(message):
bot.reply_to(message, message.text)
bot.polling()
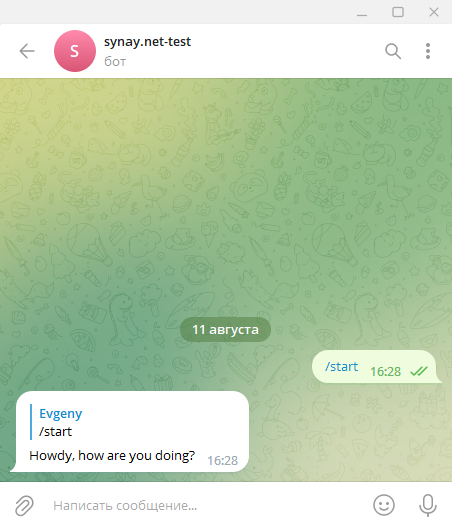
3.1 Let's test the bot script:
python3 /root/my-tel-bot/bot.py
Then you can write / start or / help and the bot will greet us.
4. Let's create a service file to start the bot automatically:
nano /lib/systemd/system/my-tel-bot.service

[Unit]
Description=Telegram My test bot
After=network.target

[Service]
EnvironmentFile=/etc/environment
ExecStart=/root/my-tel-bot/bin/python bot.py
ExecReload=/root/my-tel-bot/bin/python bot.py
WorkingDirectory=/root/my-tel-bot/
KillMode=process
Restart=always
RestartSec=5

[Install]
WantedBy=multi-user.target
4.1 Activate the service and add to autostart:
systemctl enable my-tel-bot
systemctl start my-tel-bot
Done, our bot is working, you just have to expand its functionality described in paragraph 3. You can also find the finished one and replace the bot file in the destination folder and restart the service:
systemctl restart my-tel-botWhen replacing a file or its contents, do not forget to specify a valid key token. This configuration is available on the VPS server order form.
5. Script examples. For greater clarity, we have collected several ready-made examples of bot scripts on the Internet, tested them for performance and suggest that you familiarize yourself with them:
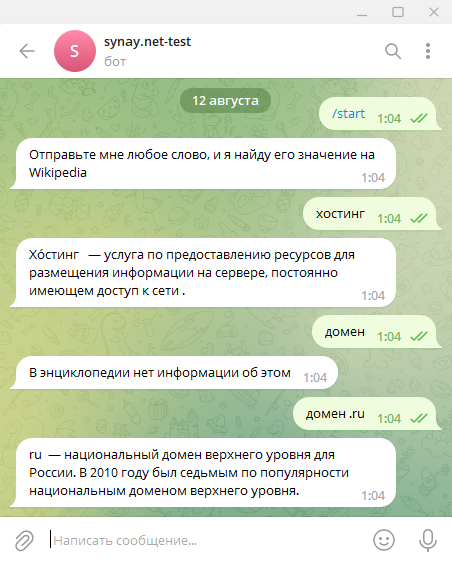
- WikiPedia telegram bot in Python
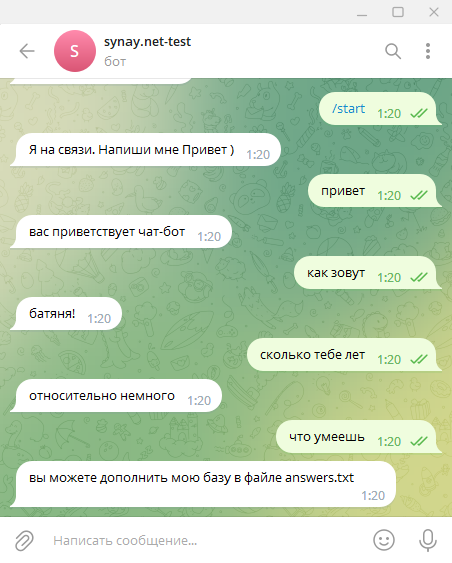
- Chatbot ready-made answers for telegrams in Python
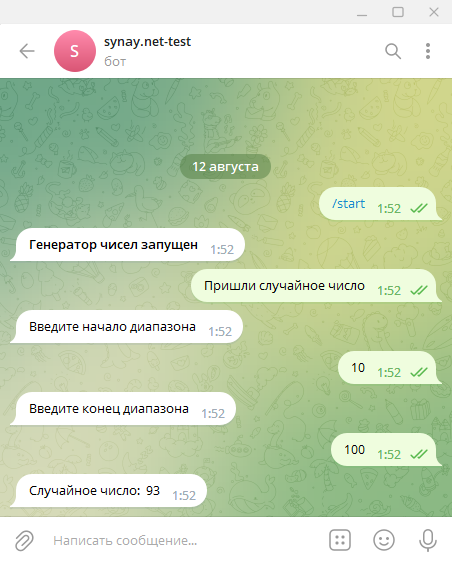
- Telegram Random Number Generator in Python
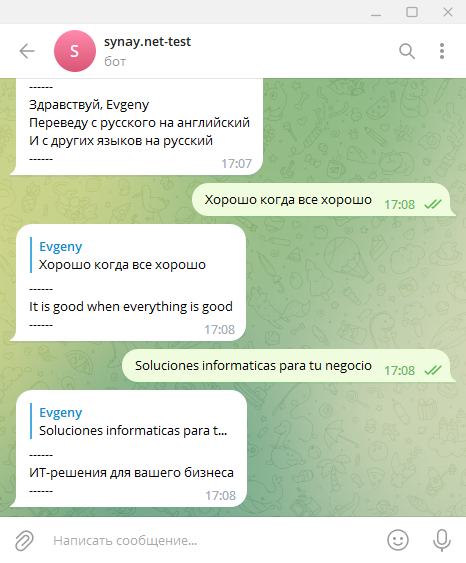
- Telegram translator bot in Python