
Debian 12 Linux Mail Server (Nginx, MariaDB, PHP, Postfix (DNSBL, DKIM, SPF), Dovecot, PostfixAdmin, SpamAssassin (Base, Self-learning by Spam folder), Sieve, Quota, Fail2Ban, Roundcube (Calendar, Managesieve), Fetchmail, Imapsync)
 |
This guide shows how to set up a full-fledged mail server on a VPS with Linux Debian 12. The task is to get a ready-made corporate server with the ability to manage domains and mailboxes through a web interface. We will install basic mail services, the postfixadmin administration tool with which you can add domains, mail addresses, as well as the roundcube web interface for convenient work with mail through a browser. In this guide, we install as root, if you have a normal use the sudo command.
|
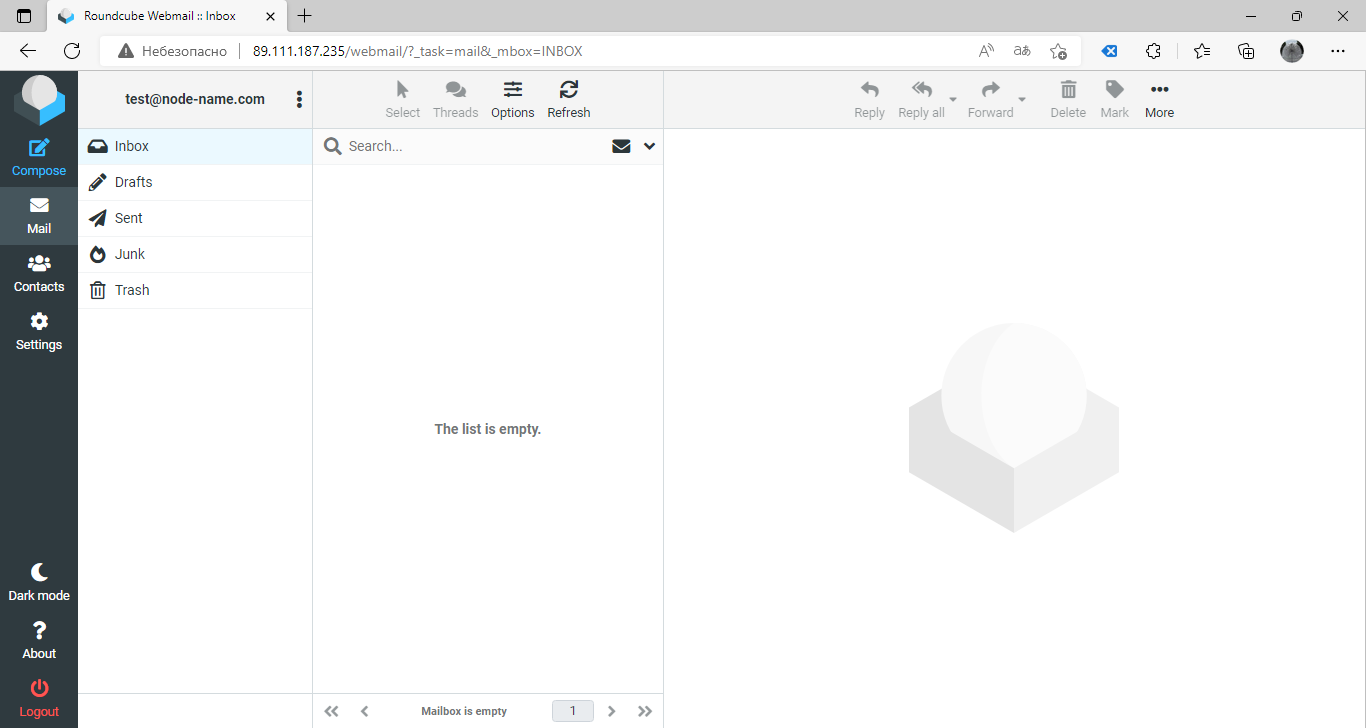
Appearance of the web interface of the mail and administration system:
Corporate mail server

Most frequently asked questions:
-
I want to buy Kaspersky Security to protect against spam and viruses. Will you install it for me?
Yes, if you order a mail server assembly and a license for Kaspersky Security, installation and configuration is free. Add license on the order form and specify the required number of mailboxes.
-
Does this server have a migration tool to transfer all emails and folders respecting the entire structure hierarchy?
Yes, imapsync is installed on the server, which allows you to transfer all mailboxes and all folders respecting the original structure, you will only need to configure the sorting rules themselves in the mailbox web interface.
-
Will I get a ready-made server right away, and after creating mailboxes in the administrative interface, will they work?
Yes, the server is fully configured and ready to go, all you need to do is enter an MX record in the DNS editor and specify the ip address of the mail server for your domain.
-
If you have questions about the correct configuration of DNS records, mailbox migration and other questions, can you make these settings?
Yes, since everyone has different domain names, the server comes with a test domain for an example, you will need to add your own, it does not take much time and if necessary, we can make these settings for you, you just need to provide domain names.
-
Can I change the settings of the services myself, as well as set my own, for example, host several sites on the mail server?
Yes, sure. After payment, you will receive a server configured according to the description, login and password for managing mailboxes, as well as full root access. The provided guide significantly reduces the time both for the setup itself and for testing, and what exactly we set up is given in the description. The main advantage is a workable mail server configuration without any restrictions.
-
We want all the data to be with us. Can you make all this adjustment on our equipment?
Yes, you can order the installation and configuration of this configuration on your equipment using the link.
-
As we understand, the finished assembly is offered only on a VPS server, but we would like to order a VDS server from you for a number of reasons.
We can configure this description by paying for a VDS server (Debian 12) for a year at once. Setup will take 2-3 days from the date of payment.
The preconfigured server configuration is available on the order form.
1. Update software packages
apt update
apt upgrade
2. Install LEMP
Installing LEMP described in one of the assemblies, we will need this bundle for the operation of the mail web interface, the mailbox administration and management system, as well as the database for storing settings.
3. Set up a firewall for mail services
iptables -I INPUT 1 -p tcp --match multiport --dports 25,110,143,465,587,993,995 -j ACCEPT
Let's keep the rules
apt install iptables-persistent
netfilter-persistent save
4. Install and configure PostfixAdmin
This package allows you to manage our mail server through the web interface without resorting to the console.
4.1 Install the package itself
apt install php-mysql php-mbstring php-imap
systemctl restart php8.2-fpm
wget https://sourceforge.net/projects/postfixadmin/files/latest/download -O postfixadmin.tar.gz
mkdir /usr/share/nginx/html/postfixadmin
tar -C /usr/share/nginx/html/postfixadmin -xvf postfixadmin.tar.gz --strip-components 1
mkdir /usr/share/nginx/html/postfixadmin/templates_c
chown -R www-data:www-data /usr/share/nginx/html/postfixadmin
4.2 Now let's create the database:
mysql -u root -p

> CREATE DATABASE postfix DEFAULT CHARACTER SET utf8 DEFAULT COLLATE utf8_general_ci;
> GRANT ALL ON postfix.* TO 'postfix'@'localhost' IDENTIFIED BY 'postfix1HuRaf92';
> \q
4.3 Let's create a configuration file with the following content:
vi /usr/share/nginx/html/postfixadmin/config.local.php


$CONF['configured'] = true;
$CONF['default_language'] = 'ru';
$CONF['database_password'] = 'postfix1HuRaf92';
$CONF['emailcheck_resolve_domain']='NO';

?>
Open a browser and enter the address http://host-ip/postfixadmin/public/setup.php
You need to come up with a password and then click on the button Generate setup_password hash, to generate a hash.
Copy the entire line and add it to the file:
vi /usr/share/nginx/html/postfixadmin/config.local.php
After saving, you need to refresh the page http://host-ip/postfixadmin/public/setup.php and log in with the given password. PostfixAdmin will be installed.
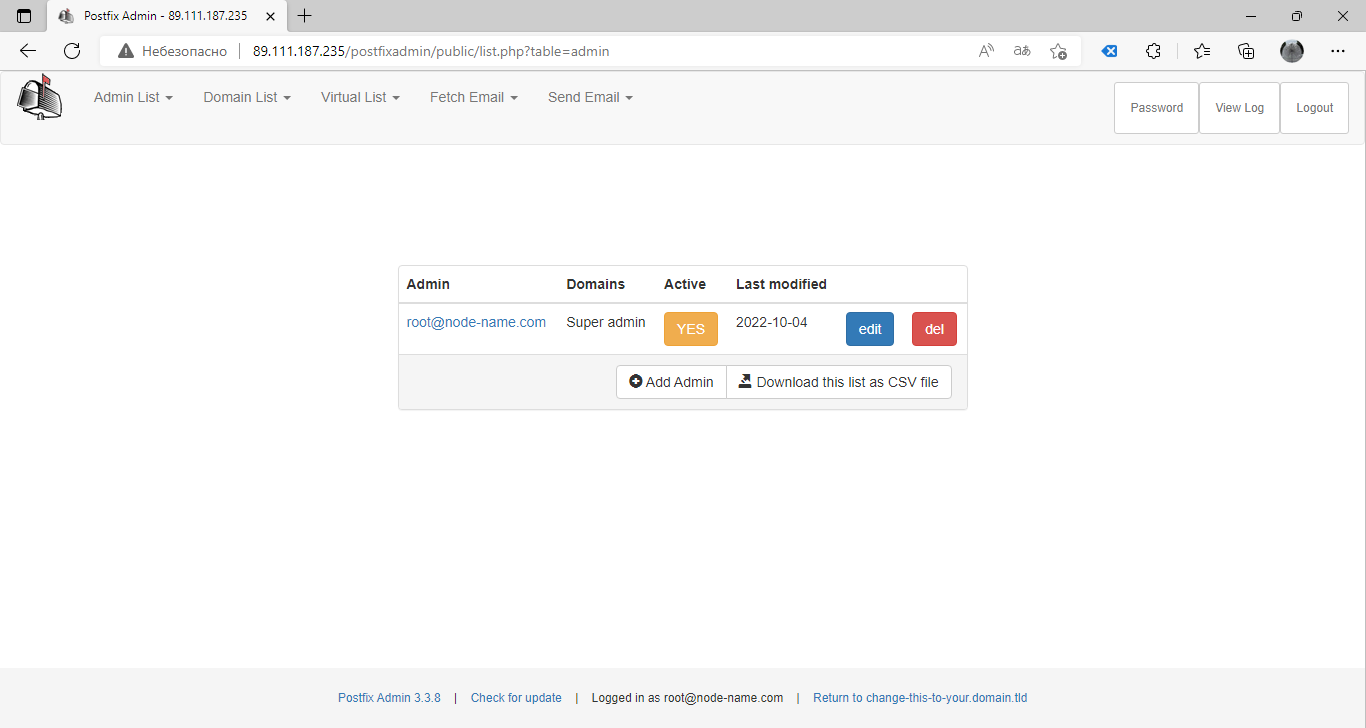
Next, we need to add a super user (a user with full rights). In the Admin field, you must specify the user in the form of mail root@mail-domain.tld
Now let's go to the page http://host-ip/postfixadmin/public/login.php and enter the data of the created user:
5. Install and configure the service Postfix
apt install postfix postfix-mysql
During the installation, the Postfix Configuration window will appear - leave the Internet Site item
5.1 Let's create a group and users to work with sweatbox folders
groupadd -g 1024 vmail
useradd -d /home/mail -g 1024 -u 1024 vmail -m
chown vmail:vmail /home/mail
5.2 Let's make changes to the configuration file
 vi /etc/postfix/main.cf

mydestination = localhost.$mydomain, localhost, localhost.localdomain

...

inet_protocols = ipv4

...

smtpd_tls_cert_file = /etc/ssl/mail/public.pem
smtpd_tls_key_file = /etc/ssl/mail/private.key
Next, add the following lines to the end of the configuration file:
 /etc/postfix/main.cf

virtual_mailbox_base = /home/mail
virtual_alias_maps = proxy:mysql:/etc/postfix/mysql_virtual_alias_maps.cf
virtual_mailbox_domains = proxy:mysql:/etc/postfix/mysql_virtual_domains_maps.cf
virtual_mailbox_maps = proxy:mysql:/etc/postfix/mysql_virtual_mailbox_maps.cf
virtual_minimum_uid = 1024
virtual_uid_maps = static:1024
virtual_gid_maps = static:1024
virtual_transport = dovecot
dovecot_destination_recipient_limit = 1

smtpd_sasl_auth_enable = yes
smtpd_sasl_exceptions_networks = $mynetworks
smtpd_sasl_security_options = noanonymous
broken_sasl_auth_clients = yes
smtpd_sasl_type = dovecot
smtpd_sasl_path = private/auth

smtp_use_tls = yes
smtpd_use_tls = yes
smtpd_tls_auth_only = yes
smtpd_helo_required = yes
Create a file with alias settings for accessing the database
vi /etc/postfix/mysql_virtual_alias_maps.cf

user = postfix
password = postfix1HuRaf92
hosts = localhost
dbname = postfix
query = SELECT goto FROM alias WHERE address='%s' AND active = '1'
Create a file with domain settings for accessing the database
vi /etc/postfix/mysql_virtual_domains_maps.cf

user = postfix
password = postfix1HuRaf92
hosts = localhost
dbname = postfix
query = SELECT domain FROM domain WHERE domain='%u'
Let's create a file with mailbox settings for accessing the database
vi /etc/postfix/mysql_virtual_mailbox_maps.cf

user = postfix
password = postfix1HuRaf92
hosts = localhost
dbname = postfix
query = SELECT CONCAT(domain,'/',maildir) FROM mailbox WHERE username='%s' AND active = '1'
Open the main configuration file and add to the very end of the line:
vi /etc/postfix/master.cf

submission   inet  n  -  n  -  -  smtpd
  -o smtpd_tls_security_level=may
  -o smtpd_sasl_auth_enable=yes
  -o smtpd_sasl_type=dovecot
  -o smtpd_sasl_path=/var/spool/postfix/private/auth
  -o smtpd_sasl_security_options=noanonymous
  -o smtpd_sasl_local_domain=$myhostname
smtps   inet  n  -  n  -  -  smtpd
  -o syslog_name=postfix/smtps
  -o smtpd_tls_wrappermode=yes
  -o smtpd_sasl_auth_enable=yes
  -o smtpd_client_restrictions=permit_sasl_authenticated,reject
dovecot   unix  -  n  n  -  -  pipe
  flags=DRhu user=vmail:vmail argv=/usr/lib/dovecot/deliver -d ${recipient}
Let's create security certificates using the command:
mkdir -p /etc/ssl/mail
openssl req -new -x509 -days 1461 -nodes -out /etc/ssl/mail/public.pem -keyout /etc/ssl/mail/private.key -subj "/C=RU/ST=SPb/L=SPb/O=Global Security/OU=IT Department/CN=mail-domain.tld"
In this case, we created a self-signed certificate, in order for it to work without a security warning, you need to buy SSL certificate.
Final service setup:
systemctl enable postfix
systemctl restart postfix
6. Install and configure Dovecot
apt install dovecot-imapd dovecot-pop3d dovecot-mysql
6.1 Setting up mail storage
vi /etc/dovecot/conf.d/10-mail.conf

mail_location = maildir:/home/mail/%d/%u/
6.2 Authorization setup
vi /etc/dovecot/conf.d/10-master.conf

service auth {
  unix_listener /var/spool/postfix/private/auth {
    mode = 0666
    user = postfix
    group = postfix
  }

  unix_listener auth-userdb {
    mode = 0600
    user = vmail
    group = vmail
  }
}
Change database authorization settings
vi /etc/dovecot/conf.d/10-auth.conf

#!include auth-system.conf.ext
!include auth-sql.conf.ext
Let's comment out the default line and activate the line with the word sql in the text.
6.3 Setting up SSL certificates
vi /etc/dovecot/conf.d/10-ssl.conf

ssl = required
ssl_cert =
ssl_key =
Let's set up automatic creation of folders when the user first authorizes in the mail.
vi /etc/dovecot/conf.d/15-lda.conf

lda_mailbox_autocreate = yes
6.4 Set up a database connection
vi /etc/dovecot/conf.d/auth-sql.conf.ext

passdb {
  …
  args = /etc/dovecot/dovecot-sql.conf.ext
}

userdb {
  …
  args = /etc/dovecot/dovecot-sql.conf.ext
}
6.5 Add settings to the configuration file
vi /etc/dovecot/dovecot-sql.conf.ext

driver = mysql
connect = host=localhost dbname=postfix user=postfix password=postfix1HuRaf92
default_pass_scheme = MD5-CRYPT
password_query = SELECT password FROM mailbox WHERE username = '%u'
user_query = SELECT maildir, 1024 AS uid, 1024 AS gid FROM mailbox WHERE username = '%u'
user_query = SELECT CONCAT('/home/mail/',LCASE(`domain`),'/',LCASE(`maildir`)), 1024 AS uid, 1024 AS gid FROM mailbox WHERE username = '%u'
6.6 Configure the interface on which the service will run
vi /etc/dovecot/dovecot.conf

listen = *
Final service setup
systemctl enable dovecot
systemctl restart dovecot
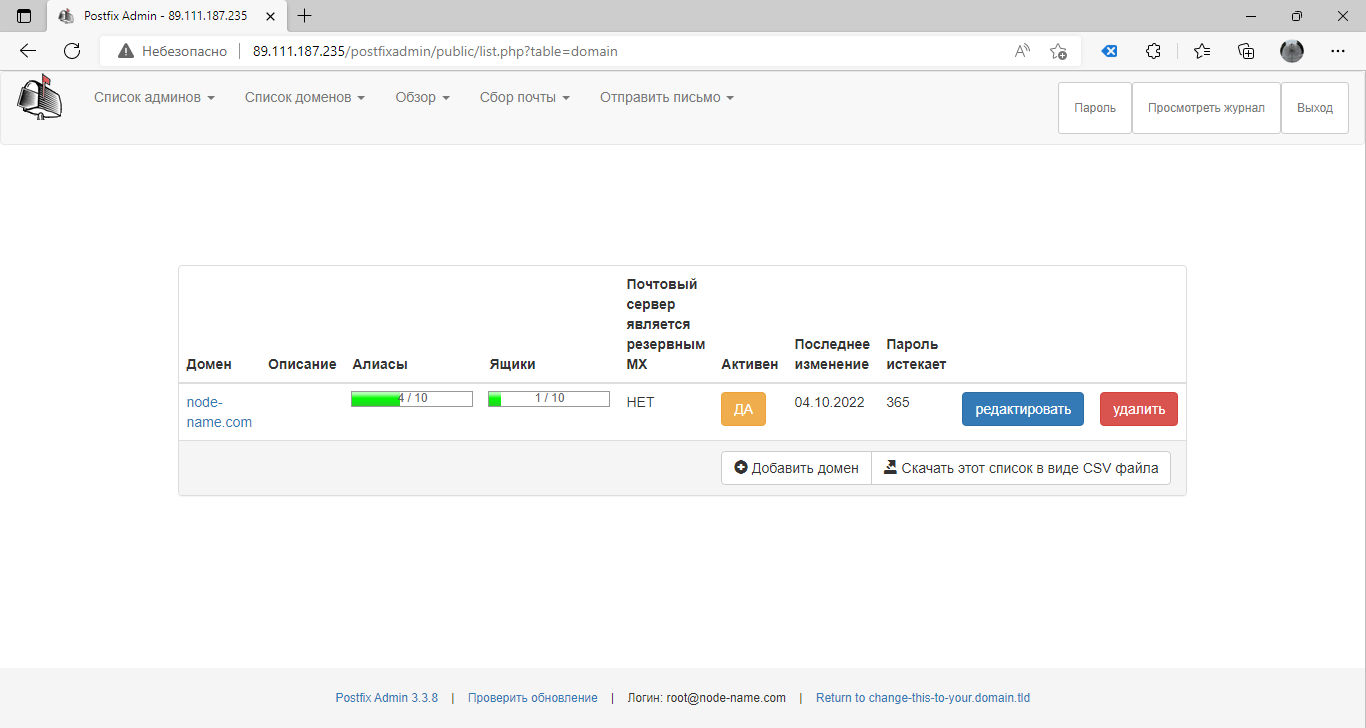
7. Setting up a domain and mailboxes
Let's go to the web interface and configure the domain to work with mail: http://host-ip/postfixadmin/public/.
Next, add a domain to the top menu:
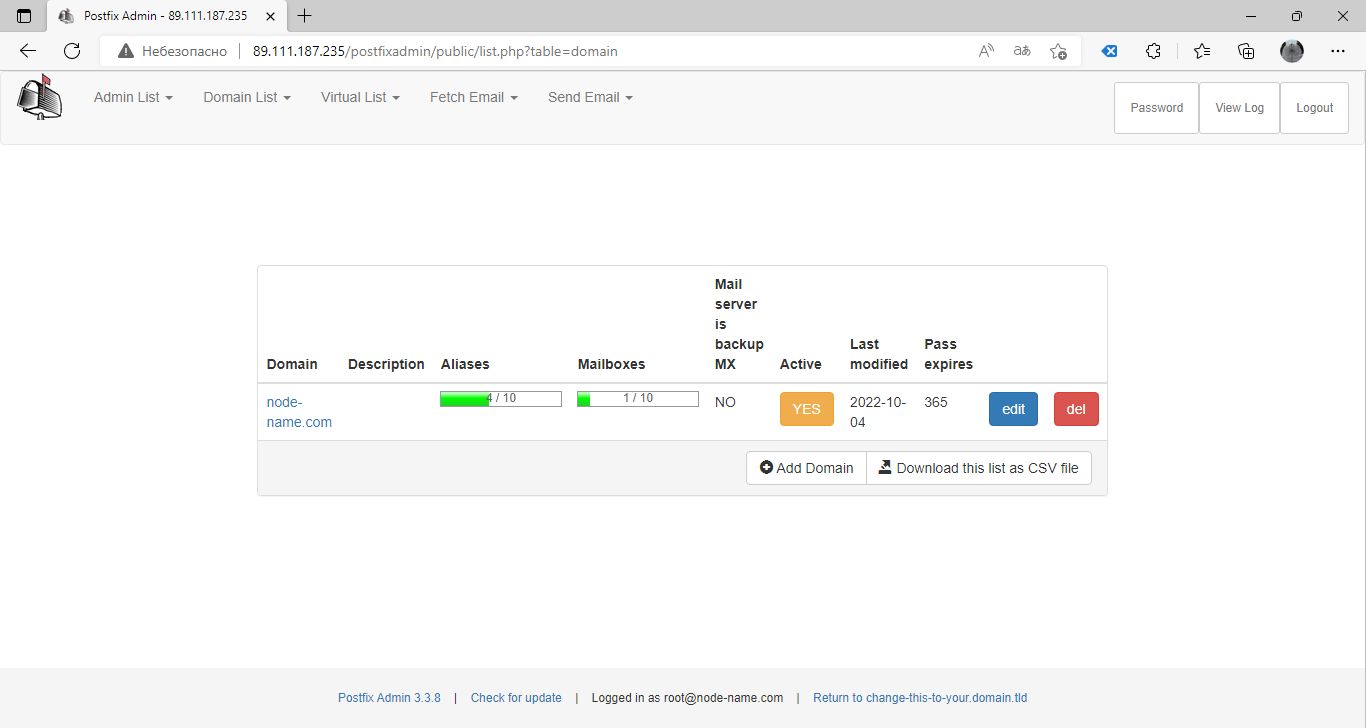
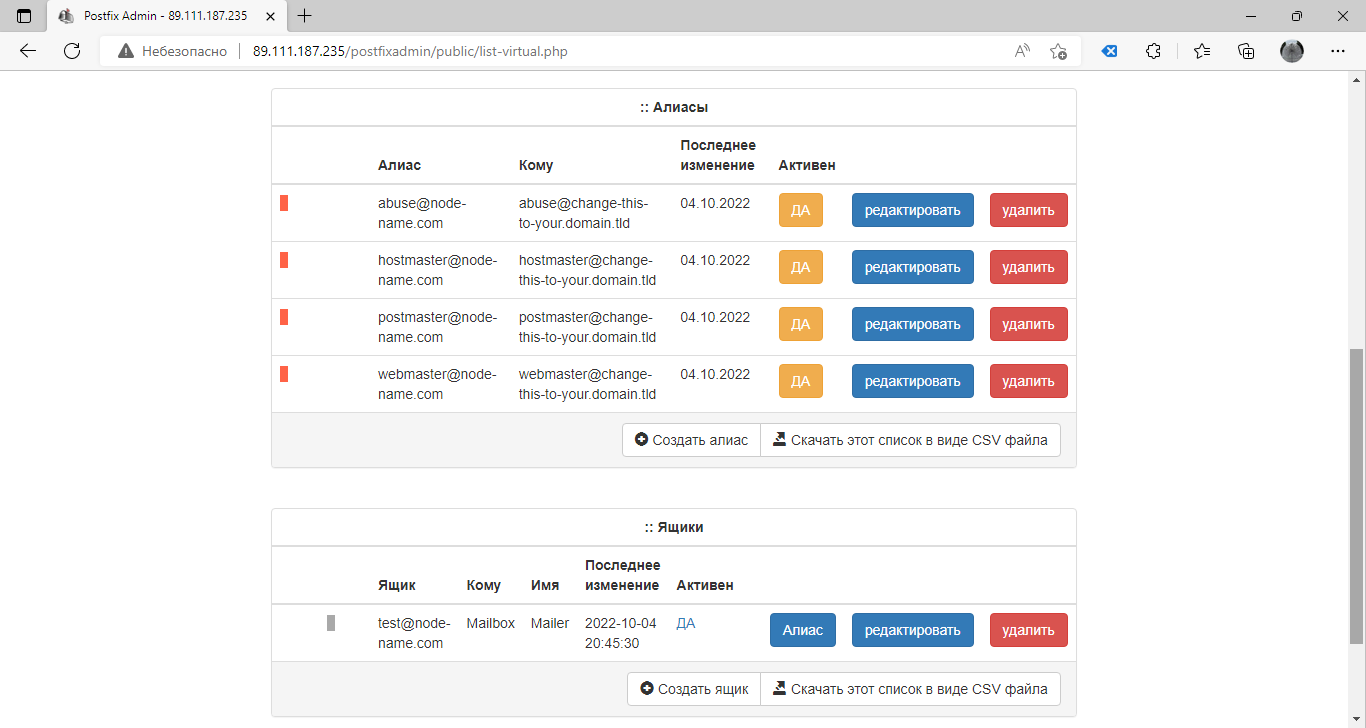
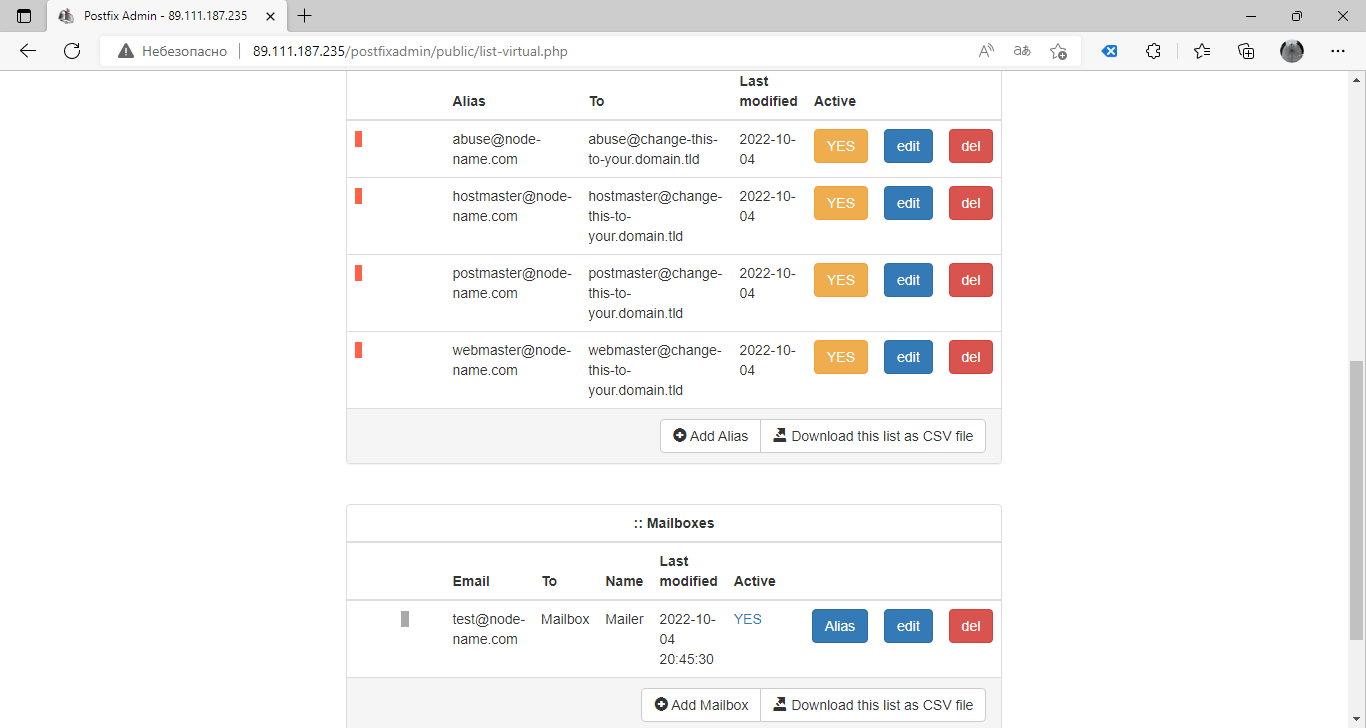
After adding the domain, let's create a mailbox.
8. Install and configure the webmail service, Roundcube
Download the latest LTS version of the package and deploy it on our server
wget https://github.com/roundcube/roundcubemail/releases/download/1.6.2/roundcubemail-1.6.2-complete.tar.gz
mkdir /usr/share/nginx/html/webmail
tar -C /usr/share/nginx/html/webmail -xvf roundcubemail-*.tar.gz --strip-components 1
cp /usr/share/nginx/html/webmail/config/config.inc.php.sample /usr/share/nginx/html/webmail/config/config.inc.php
chown -R www-data:www-data /usr/share/nginx/html/webmail
Open the configuration file and edit
vi /usr/share/nginx/html/webmail/config/config.inc.php

$config['db_dsnw'] = 'mysql://roundcube:roundcube1Yusm24M@localhost/roundcubemail';
$config['enable_installer'] = true;
Let's also find the parameter and make it empty: $config['smtp_pass'] = '';
Let's add timing to this configuration file:
vi /usr/share/nginx/html/webmail/config/config.inc.php

$config['drafts_mbox'] = 'Drafts';
$config['junk_mbox'] = 'Junk';
$config['sent_mbox'] = 'Sent';
$config['trash_mbox'] = 'Trash';
$config['create_default_folders'] = true;
Let's create a base for roundcubemail in MariaDB, specified in the configuration file:
mysql -uroot -p

> CREATE DATABASE roundcubemail DEFAULT CHARACTER SET utf8 COLLATE utf8_general_ci;
> GRANT ALL PRIVILEGES ON roundcubemail.* TO roundcube@localhost IDENTIFIED BY 'roundcube1Yusm24M';
> quit
Importing the database:
mysql -uroot -p roundcubemail < /usr/share/nginx/html/webmail/SQL/mysql.initial.sqlInstall the necessary php packages:
apt install php-pear php-intl php-ldap php-net-smtp php-gd php-imagick php-zip php-curl php-dom php-xml php-mcrypt
If an error occurred during the installation of php-mcrypt, install it manually
apt install php-dev libmcrypt-dev
pecl channel-update pecl.php.net
pecl install mcrypt-1.0.5

vi /etc/php/8.2/fpm/conf.d/99-mcrypt.ini

extension=mcrypt.so
Set up php service:
vi /etc/php/8.2/fpm/php.ini

date.timezone = "Europe/Moscow"
post_max_size = 50M
upload_max_filesize = 50M
Limits of 50 megabytes are shown as an example, you can set your own, they will allow you to attach larger attachments to the letter.
systemctl restart php8.2-fpm
Let's fix the limits in nginx itself
vi /etc/nginx/nginx.conf

http {

    ...
    client_max_body_size 50M;
    ...
systemctl restart nginx
Next, we will continue the installation in the browser using the link http://host-ip/webmail/installer/
Following the instructions, install rouncube, and then on the next page we check that all items are in the OK state. Installation completed.
Remove the installer and disable installation in the configuration file
rm -rf /usr/share/nginx/html/webmail/installer
vi /usr/share/nginx/html/webmail/config/config.inc.php

$config['enable_installer'] = false;
Let's follow the link http://host-ip/webmail/ and go to the web mail using the full email address and password as a login.
9. Final setup step
Our VPS server is configured to work with mail, now we need to register or replace the MX record with the IP address of our server in the domain name settings:
In DNS Editor the lines will look like this:

After the entries are registered, it is necessary specify reverse zone for IP address (PTR)
The Linux Debain 12 Enterprise Mail Server is ready to go, the build also includes the configuration of the services and options listed below:
- Installing and configuring the SpamAssasin anti-spam filter and grouping messages into the Spam folder for the Postfix Debian service
- Installing and configuring mailbox quotas on a Dovecot mail server
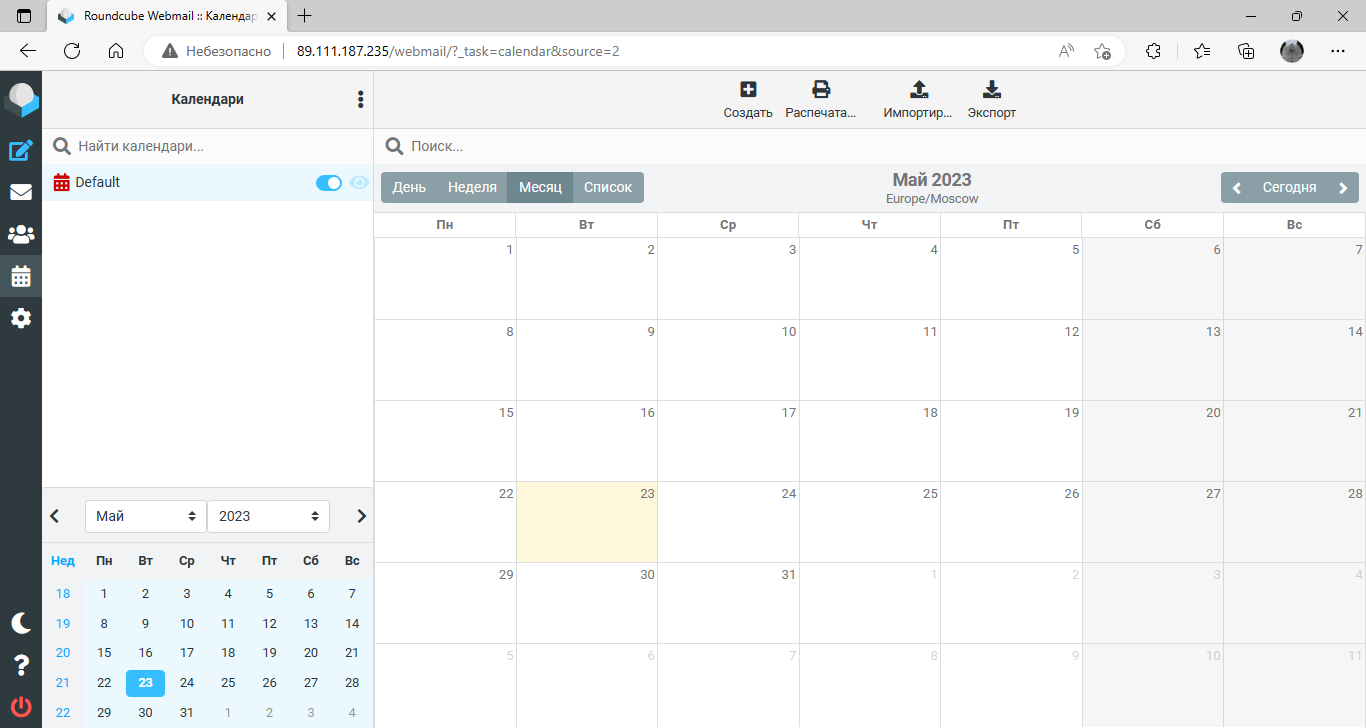
- Setting the Calendar for Roundcube Webmail
- Protecting your mail server from guessing passwords with Fail2Ban
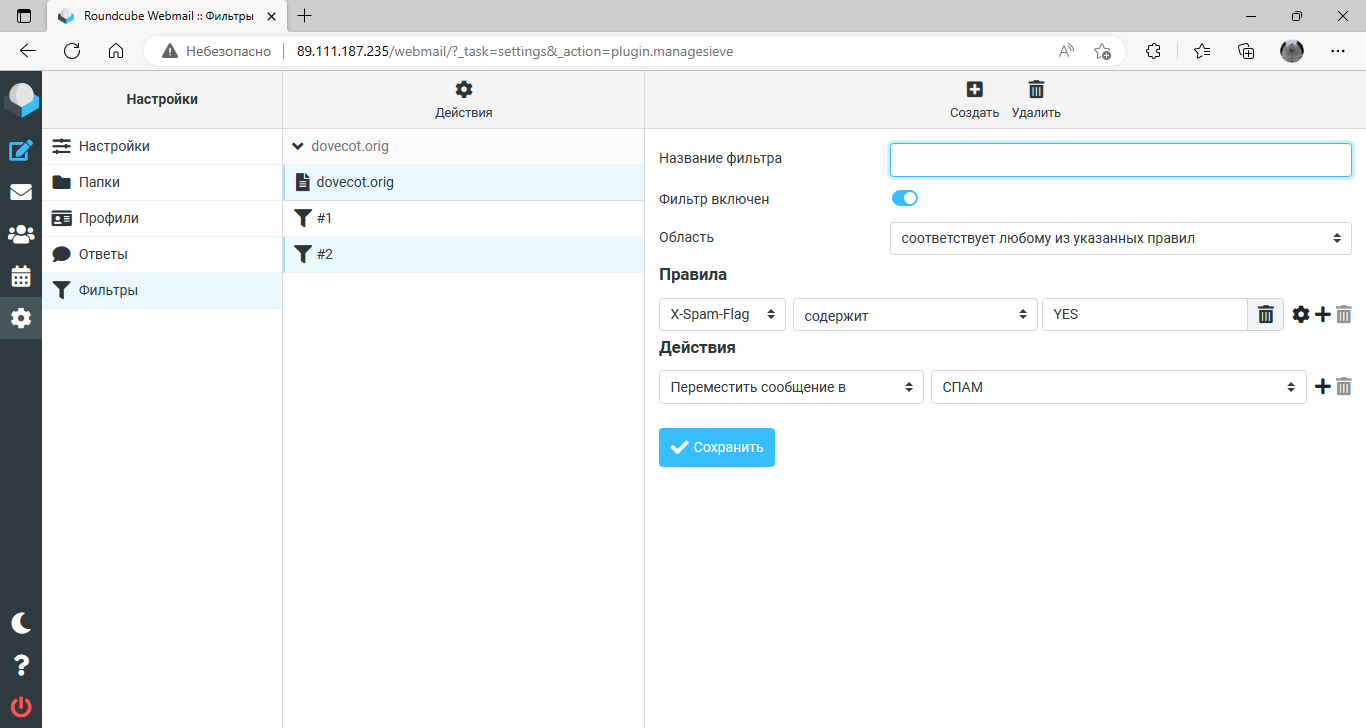
- Configuring the ManageSieve email filter for Roundcube webmail
- Deleting mailbox folders via PostfixAdmin
- Setting up a mail collector in postfixAdmin
- Transferring and syncing mail via imapsync
- Configuring SPF Checking in Postfix
- Setting up a DKIM digital signature in Postfix
- Spam protection with Postfix
- Self-learning Spamassassin on the Spam folder
- Postfix mail server monitoring with PDF report