
Debian 12 Linux Telegram Bot Server (Python, Autorun script, Test bot script)
 |
Esta guía muestra cómo configurar su servidor bot de Telegram en un VPS con Linux Debian 12. La tarea es lanzar un bot las 24 horas que dará respuestas a los suscriptores en la aplicación de Telegram. También puede pedir un montaje listo en el formulario de pedido del servidor VPS. En un servidor de telegramas de chat bot listo para usar, puede ejecutar varios bots de la misma manera que se describe a continuación. En esta guía, estamos instalando como root, si tiene uno normal, use el comando sudo.
|
servidor de bots de Telegram
Preguntas más frecuentes:
-
Queremos que todos los datos estén con nosotros. ¿Puedes hacer todo este ajuste en nuestro equipo?
Sí, puedes solicitar la instalación y configuración de esta configuración en tu equipo mediante el enlace.
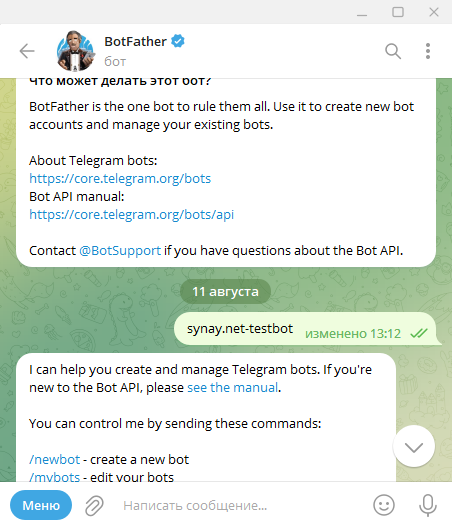
1. Crea un bot en tu cuenta de Telegram:
@BotFather
/newbot
synay.net-test
synaytestBot
1234567890:NNHNgm2Mg0RqvFlHVZKUdgnsZZzCe84KLuw
2. Instale los paquetes necesarios en el servidor y configure los servicios:
apt update
apt-get install python3
apt-get install python3-venv
python3 -m venv my-tel-bot
source my-tel-bot/bin/activate
pip3 install pyTelegramBotAPI
3. Vamos a crear un script de bot de prueba:
nano /root/my-tel-bot/bot.py
import telebot
bot = telebot.TeleBot('')
@bot.message_handler(commands=['start', 'help'])
def send_welcome(message):
bot.reply_to(message, "Howdy, how are you doing?")
@bot.message_handler(func=lambda message: True)
def echo_all(message):
bot.reply_to(message, message.text)
bot.polling()
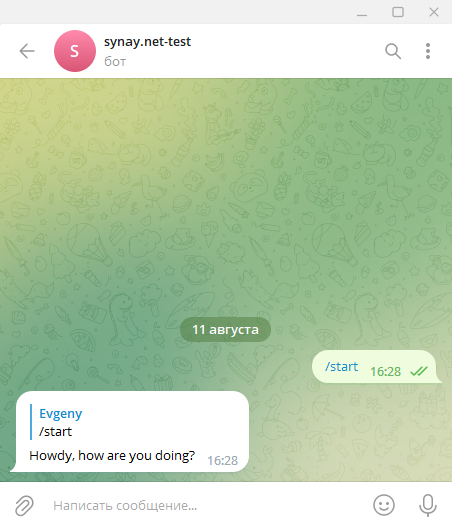
3.1 Probemos el script del bot:
python3 /root/my-tel-bot/bot.py
Luego puedes escribir /start o /help y el bot nos saludará.
4. Vamos a crear un archivo de servicio para iniciar el bot automáticamente:
nano /lib/systemd/system/my-tel-bot.service

[Unit]
Description=Telegram My test bot
After=network.target

[Service]
EnvironmentFile=/etc/environment
ExecStart=/root/my-tel-bot/bin/python bot.py
ExecReload=/root/my-tel-bot/bin/python bot.py
WorkingDirectory=/root/my-tel-bot/
KillMode=process
Restart=always
RestartSec=5

[Install]
WantedBy=multi-user.target
4.1 Active el servicio y agréguelo al inicio automático:
systemctl enable my-tel-bot
systemctl start my-tel-bot
Listo, nuestro bot está funcionando, solo tiene que expandir su funcionalidad descrita en el párrafo 3. También puede encontrar el terminado y reemplazar el archivo del bot en la carpeta de destino y reiniciar el servicio:
systemctl restart my-tel-botAl reemplazar un archivo o su contenido, no olvide especificar un token de clave válido. Esta configuración está disponible en el formulario de pedido del servidor VPS.
5. Ejemplos de guiones. Para mayor claridad, hemos recopilado varios ejemplos listos para usar de secuencias de comandos de bot en Internet, los hemos probado para determinar su rendimiento y le sugerimos que se familiarice con ellos:
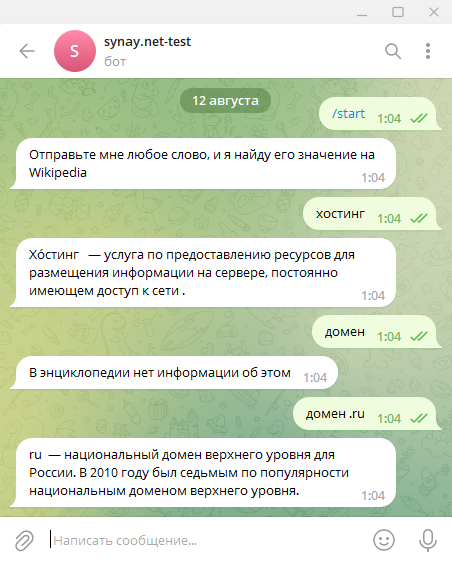
- Bot de Telegram de WikiPedia en Python
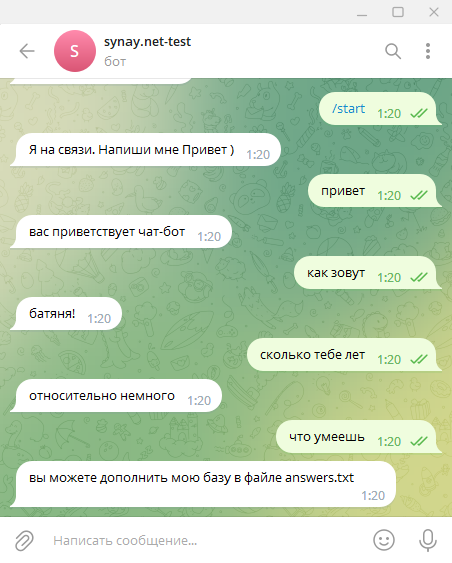
- Chatbot respuestas preparadas para telegramas en Python
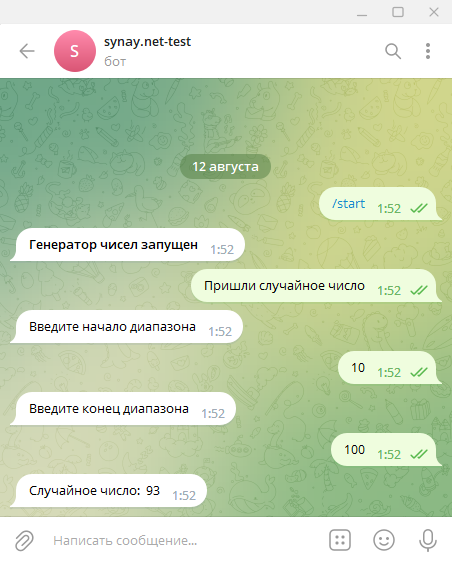
- Generador de números aleatorios de Telegram en Python
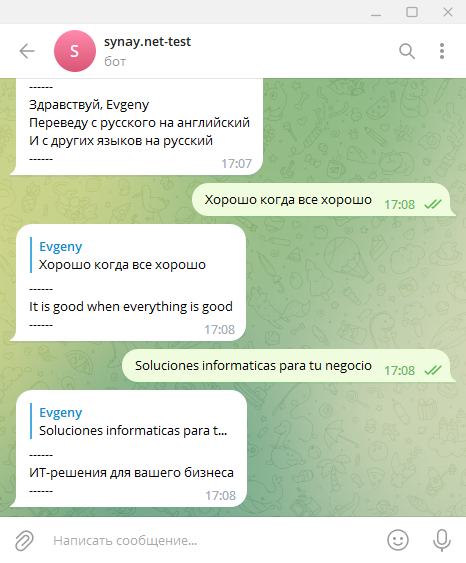
- Bot traductor de Telegram en Python