
Debian 12 Linux Telegram Bot Server (Python, Autorun script, Test bot script)
 |
本指南展示了如何在使用 Linux Debian 12 的 VPS 上设置 Telegram 机器人服务器。任务是全天候启动机器人,在 Telegram 应用程序中为订阅者提供答案。 您还可以在 VPS 服务器订单上订购现成的组件。 在现成的聊天机器人电报服务器上,您可以按照如下所述的相同方式运行多个机器人。 在本指南中,我们以 root 身份安装,如果您有普通用户,请使用 sudo 命令。
|
Telegram 机器人服务器
最常见的问题:
-
我们希望所有数据都在我们身边。 你们能对我们的设备进行所有这些调整吗?
是的,您可以通过以下命令在您的设备上订购此配置的安装和配置 关联.
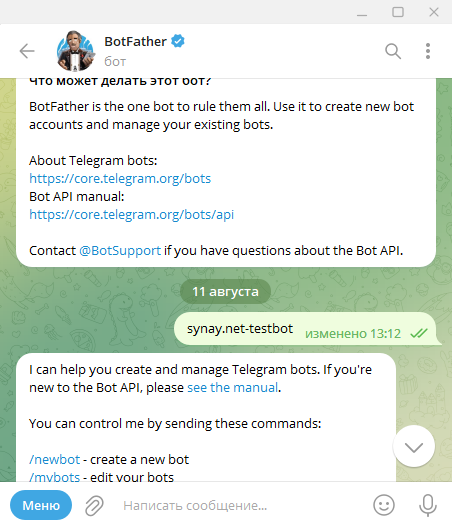
1. 让我们在 Telegram 帐户中创建一个机器人:
@BotFather
/newbot
synay.net-test
synaytestBot
1234567890:NNHNgm2Mg0RqvFlHVZKUdgnsZZzCe84KLuw
2. 在服务器上安装必要的软件包并配置服务:
apt update
apt-get install python3
apt-get install python3-venv
python3 -m venv my-tel-bot
source my-tel-bot/bin/activate
pip3 install pyTelegramBotAPI
3. 让我们创建一个测试机器人脚本:
nano /root/my-tel-bot/bot.py
import telebot
bot = telebot.TeleBot('')
@bot.message_handler(commands=['start', 'help'])
def send_welcome(message):
bot.reply_to(message, "Howdy, how are you doing?")
@bot.message_handler(func=lambda message: True)
def echo_all(message):
bot.reply_to(message, message.text)
bot.polling()
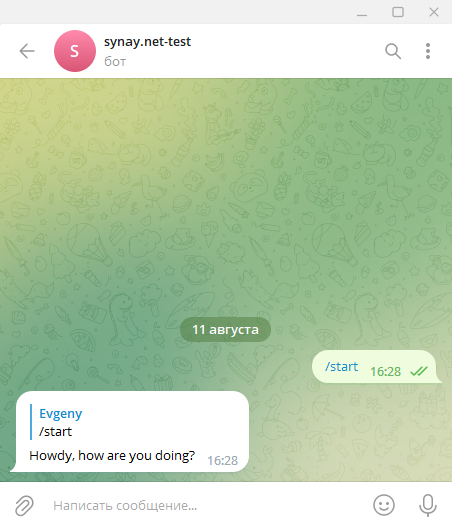
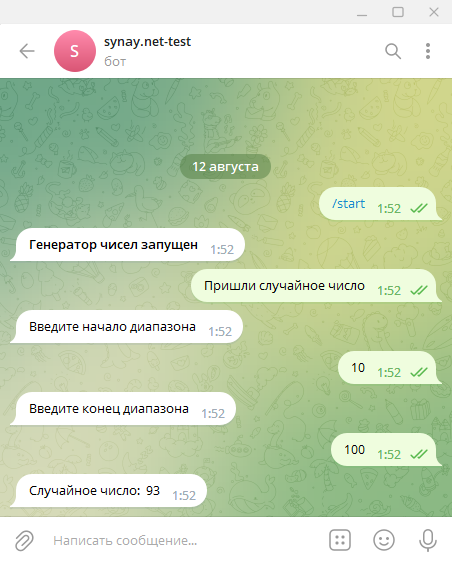
3.1 让我们测试一下机器人脚本:
python3 /root/my-tel-bot/bot.py
然后你可以写 /start 或 /help,机器人就会向我们打招呼。
4. 让我们创建一个服务文件来自动启动机器人:
nano /lib/systemd/system/my-tel-bot.service

[Unit]
Description=Telegram My test bot
After=network.target

[Service]
EnvironmentFile=/etc/environment
ExecStart=/root/my-tel-bot/bin/python bot.py
ExecReload=/root/my-tel-bot/bin/python bot.py
WorkingDirectory=/root/my-tel-bot/
KillMode=process
Restart=always
RestartSec=5

[Install]
WantedBy=multi-user.target
4.1 激活服务并将其添加到自启动
systemctl enable my-tel-bot
systemctl start my-tel-bot
完成,我们的机器人正在工作,您只需扩展第 3 段中描述的功能即可。您还可以找到完成的机器人并替换目标文件夹中的机器人文件并重新启动服务:
systemctl restart my-tel-bot替换文件或其内容时,不要忘记指定有效的密钥令牌。 此配置可在 VPS 服务器订单上找到。
5. 脚本示例。 为了更清楚起见,我们在互联网上收集了几个现成的机器人脚本示例,测试了它们的性能并建议您熟悉它们:
暂时没有评论