
A virtual server is an analogue of a physical server, but with the possibility of more flexible configuration when you need a certain amount of resources for your project. A virtual server has a number of advantages over a physical one, such as convenient backup and recovery.
We offer 2 types of virtual servers for ordering:
VPS Server - virtualization at the operating system level, only operating systems of the Linux family are available, it is well suited for mail and web projects.
VDS Server - virtualization at the hardware level, all operating systems are available: Linux, Microsoft Windows, FreeBSD and others, as well as the ability to install your own ISO image.
In this example, we will consider ordering a VPS server, since the procedure is not much different from ordering a VDS server and is in many ways similar.
1. Placing an order for a VPS server
Select the required type of server virtualization.

1.1 Let's decide on the amount of resources that the server will have
The following parameters are available for settings:
- SSD disk capacity
- Number of IP addresses
- Number of projector cores (CPU Core)
- Amount of random access memory (RAM)
- Select the operating system
We will also indicate the server name and password (For a Linux user - root, for a Windows user in the case of VDS - Administrator)

If necessary, you can select additional services, for example, protection against DDOS attacks; in this case, a protected IP address with traffic filtering will be issued.
In the information window on the right, depending on the selected configuration, the cost of the service will be displayed in real time. You can also choose a payment cycle that is convenient for you to pay.
1.2 Viewing your order cart
At this stage, you can review the final order and, if necessary, indicate the quantity or change the configuration.

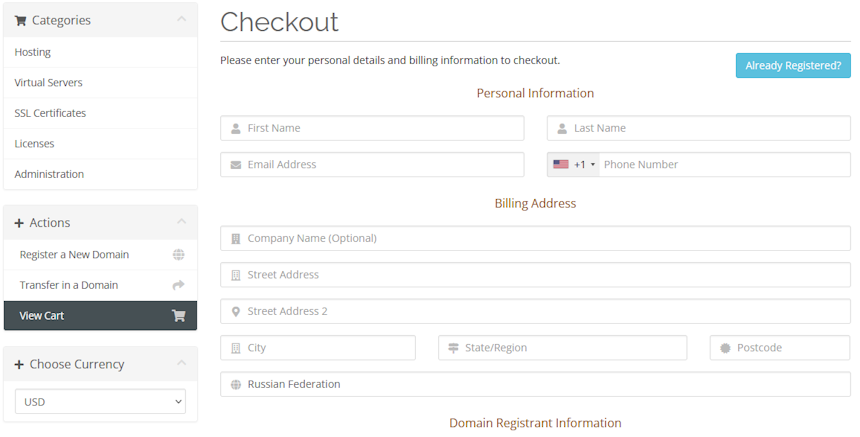
1.3 Entering owner registration data
Fill in the fields; based on the entered data, a personal account will be created to manage services.
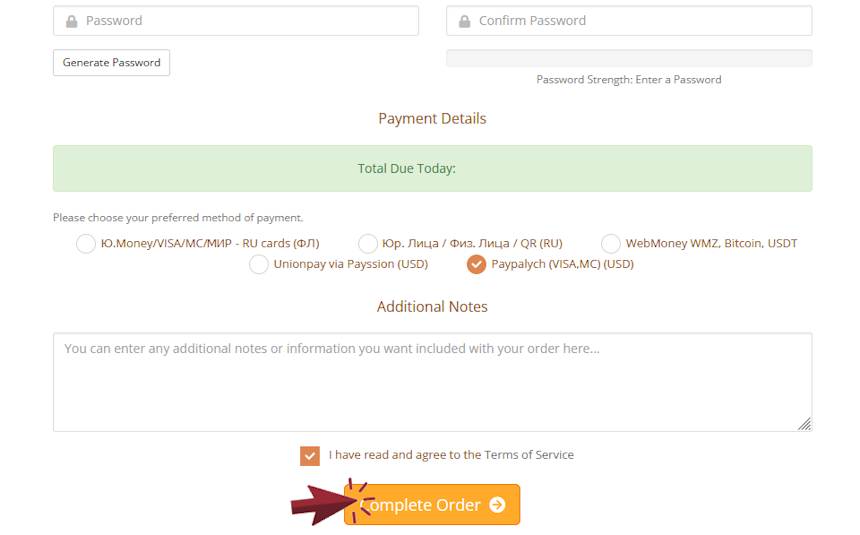
1.4 Selecting a payment method
Select a payment method convenient for you and complete the process on the payment system side. After successful payment you will receive a notification.
Activation of services occurs during business hours in the Moscow time zone (UTC+3) within 1-2 hours after payment. You will receive a notification about the successful activation of services.
Management of the ordered server, including access data, will become available in your personal account.