
To get convenient and visual statistics on the use of a proxy server, install the SARG package and configure it for work. Reports will be generated every day and displayed in the browser using login and password access.
Add to the repositories file:
vi /etc/apt/sources.list

deb http://ftp.de.debian.org/debian stretch main
Install SARG
apt install sargLet's make changes to the configuration file:
/etc/sarg/sarg.conf

...
graph_font /usr/share/fonts/truetype/dejavu/DejaVuSans.ttf
...
access_log /var/log/squid/access.log
...
output_dir /var/www/html
...
date_format e
...
Let's add a configuration for accessing reports by login and password:
/etc/apache2/sites-enabled/000-default.conf

...
AuthType Basic
AuthName "Restricted Content"
AuthUserFile /etc/squid/passwords
Require valid-user
...
Let's create a file with passwords:
htpasswd -c /etc/apache2/.htpasswd usernameLet's restart the service:
systemctl restart apache2In order for the report to be updated and supplemented every day at 00:00, add a task to cron
crontab -e

0 0 * * * /usr/bin/sarg -x
Done, now we can go to the browser and check the work:
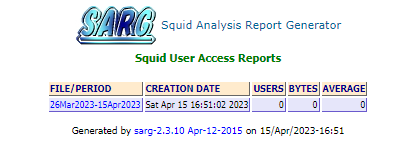
Now all traffic that passes through the proxy server is available for easy viewing.
In order to have friendly names in reports instead of IP addresses, you can add a mapping to the file:
nano /etc/sarg/usertab
# Insert userid/ip address mapping information - see sarg.conf for more info
100.100.100.101 Boss Notebook
To update the report, you need to restart generation
sarg -x
Reports will now show the specified mappings instead of IP.